Pinterest Inspired DIY 002; Christmas Tree Biscuits.

Pinterest Inspired DIY 002; Christmas Tree Biscuits.
It's round 2 of my Pinterest DIYS (round 3 is complete and will be live later this week or mayyyybe on the weekend). I am properly loving DIYs at this time of year, I think it's a good way to spend a cold dark wintery evening and what better way than to make something lovely (or in this case yummy) for Christmas.
I should start by saying I am NOT the world's best chef, cook or baker. In fact, I'm pretty awful. What I can make, I can make well. I am all about that Sunday roast, mac and cheese, toad in the hole etc etc etc but cakes and biscuits? Not normally my shebang.
That I think should be proof enough that this is THE easiest Christmas Tree Biscuit recipe ever.

What You'll Need:
- 100g of butter
- 100g of caster sugar
- 1 egg
- 275g of plain flour
- 1 tsp of vanilla extract
- Icing Pen
- Christmas tree cutter
- Greaseproof paper
- Baking Tray
- Lots of wooden spoons!
- Big mixing bowl
- Jug
- Whisk
- Rolling Pin
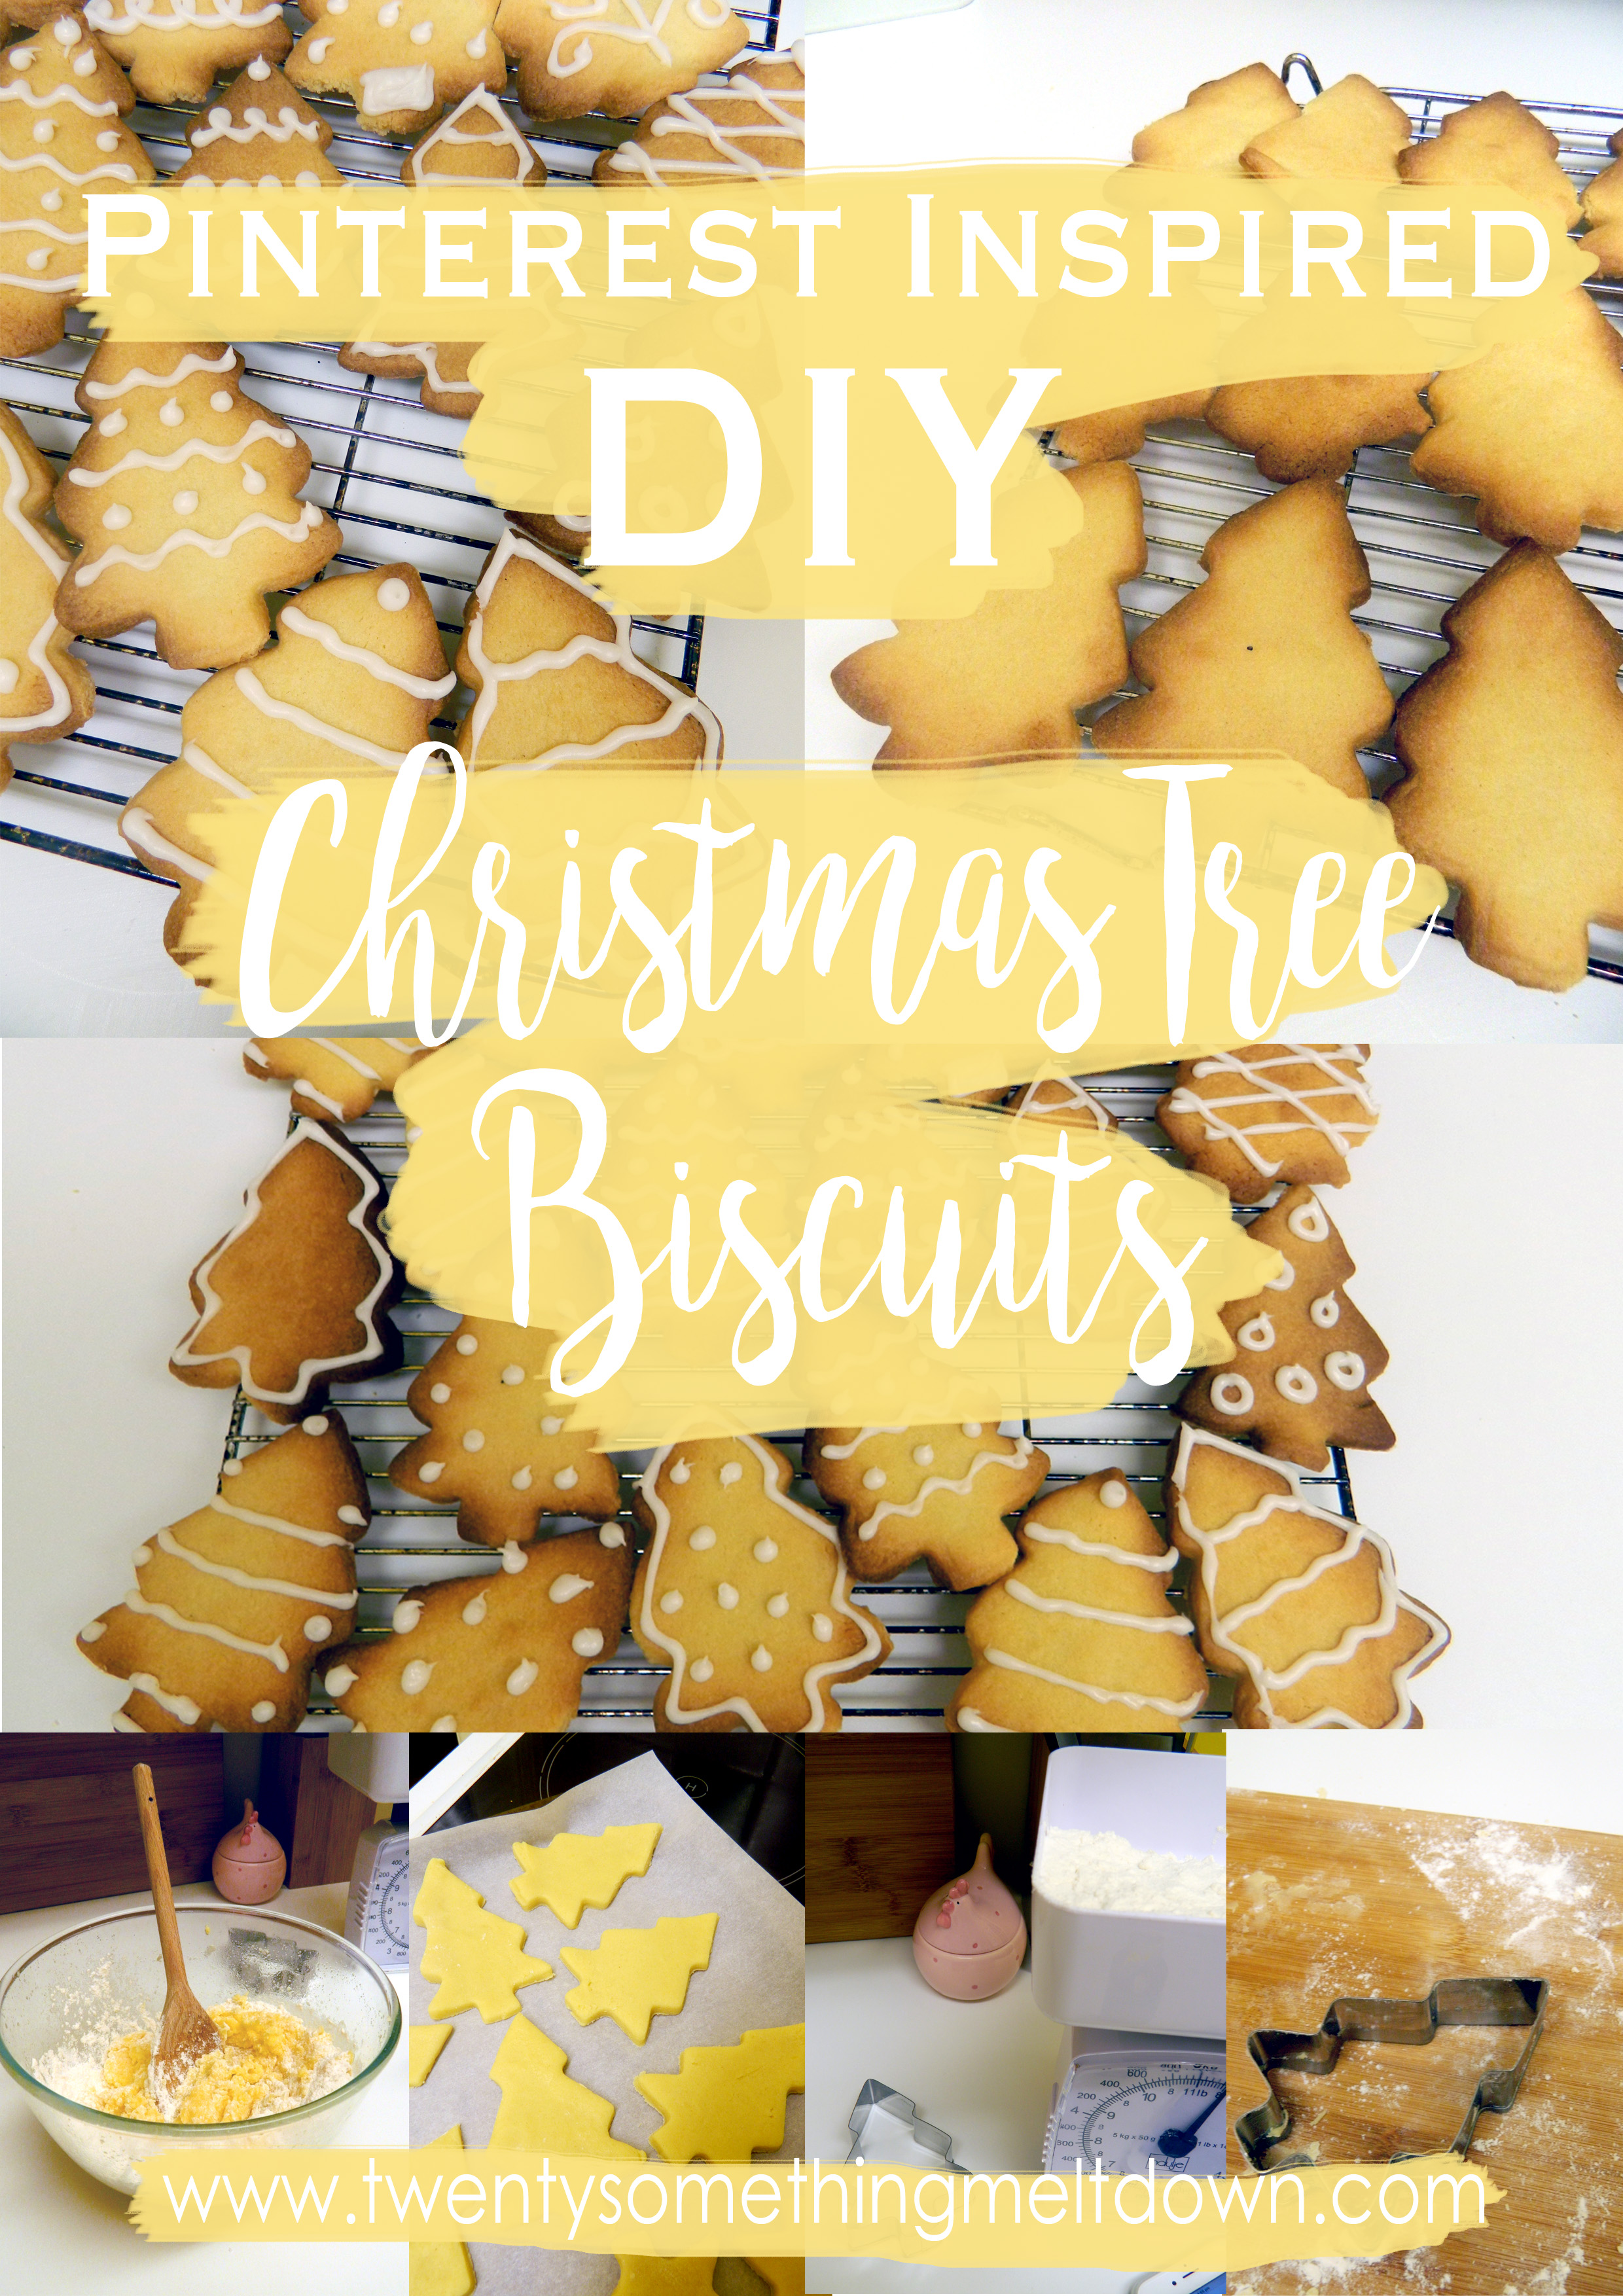
I was VERY approximate with my measuring and I made 20 biscuits from this mixture but they were pretty chunky (which made them soft in the middle mmmm hmmmm)


Method:
1. Preheat your oven to 190 degrees (if it's a fan, add a few if it's not) whilst you're working.
2. Whack the butter and sugar into a big mixing bowl and cream (basically mix together). You'll know it's done when it's all mixed in together, it'll lighten in colour and it'll double in mass - hence the big bowl. I found a good way to do it if your butter is quite hard is to squish it with the back of a wooden spoon.
3. Crack the egg into a measuring bowl or jug to make sure there's no shell and then beat until it's all runny. Add a tea spoon of vanilla extract into the butter/sugar mix and then add the egg.
4. Beat the eggy/vanillary/sugary/buttery mix all together until it's mixed well.
5. Stir in the flour bit by bit until it makes a dough - this is where you need a big bowl because mixing flour is a messy old job.
6. Shake a bit of flour onto a flat worktop or chopping board to stop the dough sticking and add a little to a rolling pin too. Roll out the dough onto your flat surface (I had to do mine in two lots because the board was so small) until it's as thick as you want it. FYI the first few I did were a bit thin and lost their shape when they baked but the last batch I did were a good centimetre thick and worked much better.
7. Using your biscuits cutter (I got mine for 2 quid on Ebay), cut our your trees. Make sure you continue to shake flour to stop it sticking and re roll the dough to make sure you get the most possible biscuits.
8. Pop your trees on a baking tray lined with greaseproof paper to stop them sticking. I recommend using a few trays because they do tend to expand and stick together in the oven and nobody wants misshaped Christmas trees.
9. Whack them in the oven for about 10 minutes but check on them regularly. They need to be golden brown and as with everything in my oven I don't know why but it catches on sides and stays gooey in the middle. Luckily I like gooey and don't mind a bit of crunch.
10. When they're done, take them out and leave them to harden on the baking trays. When they're hard (tap it, you'll know) pop them on a wire cooling rack and leave them to cool off completely. I didn't have a cooling rack big enough so I just carefully took one of the rungs out of the oven and that did the job.
11. Ice them in whatever pattern you want! I wanted to do plain white so I just got an icing pen from Morrisons for about 2 quid but I did use about 3/4 of the tube cos luhhhh me some icing.
12. LET THEM DRY. I cannot stress this enough. The icing takes a little while to dry but you'll really cock it up if you move them, stack them or box them when they're not completely done.
AND THEN EAT!


I can't stress how easy this is. I used to make them when I was a kid with a friend but haven't done it in foreverrrr and I improvised on loads of things and they tasted grand. In fact they were so moreish they were gone the day after and I've already bookmarked in making them again before Christmas Day and again for my pals in January.
It doesn't take a genius, it doesn't take a lot of effort and it doesn't cost a lot of money but it looks blady gorgeous. It's so easy to tweak too if you want to add a bit more flavour. I personally just like them plain with vanilla but it'd be so easy to add in extra ingredients, or make them a different shape!


Overall verdict?
10/10. I loved them, my family loved them, Joss' family loved them.... I'm definitely making them again this festive season and this time I'll make a lot more because they went down so quickly.
Also it's worth noting I didn't have any photos or inspo in front of me when I decorated them, I did it off my own back with my own designs and it proves you don't have to be an artist, a few dots and squiggles will do you right.
Oh and they're pretty Instagram friendly too.
My Pinterest Inspiration.

Pin for later!